Start with the heaviest thing that will hit the floor
Every other flooring question follows from this one. Write down the worst impact your room will ever see, then buy for that — not for the average session.
- Bodyweight, bands, stretching, light dumbbells. Nothing heavy is coming down hard. Foam tiles are all you need, and thicker means more comfortable.
- Adjustable dumbbells and a bench. Weights get set down, and occasionally dropped from a few inches. A quarter-inch to half-inch rubber mat or a thick foam tile both work — rubber if the floor underneath is hardwood or tile.
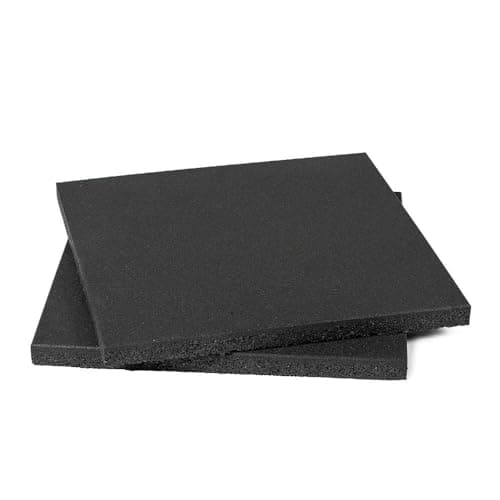
- A rack, a loaded barbell, plates. Point loads from rack feet plus real impact. This is dense rubber territory: foam dents, and a soft base makes a loaded bar feel unstable.
- Deadlifts you intend to drop. A general-purpose mat is not a drop pad. You want thick, purpose-made rubber tiles under each end of the bar, or a mat stack over plywood.
Most beginners land in the middle two rows, which is exactly why our top pick is a cheap dense rubber mat rather than the most impressive product on the page. Buy for the impact you actually have, then add a drop pad later if your training changes.
Rubber or foam — the one decision that matters
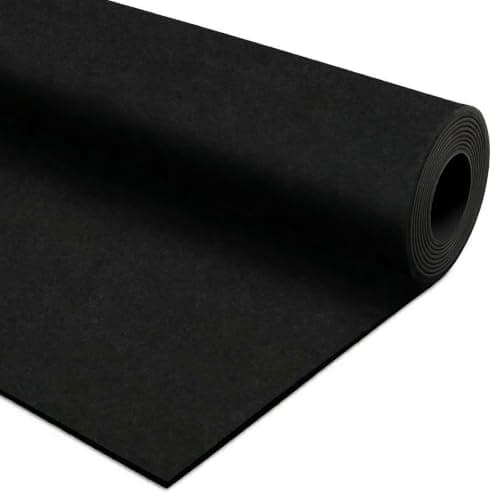
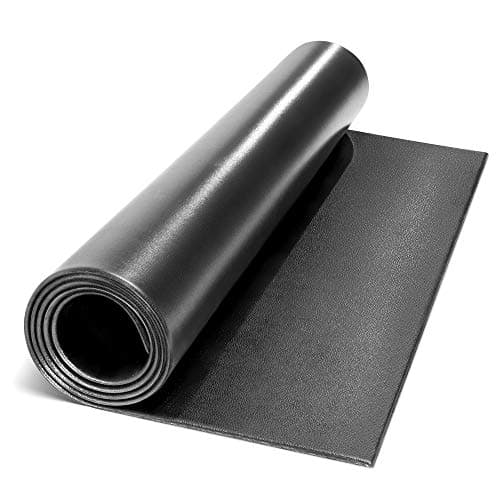
Dense rubber is heavy, tough, and cheap by the square foot. It does not compress under rack feet, it absorbs impact instead of transmitting it, and it lasts essentially forever. The trade-offs are real: it is awkward to carry, it has a distinct rubber smell for a week or two while it airs out, and a large area gets heavy enough that you will not be moving it on a whim.
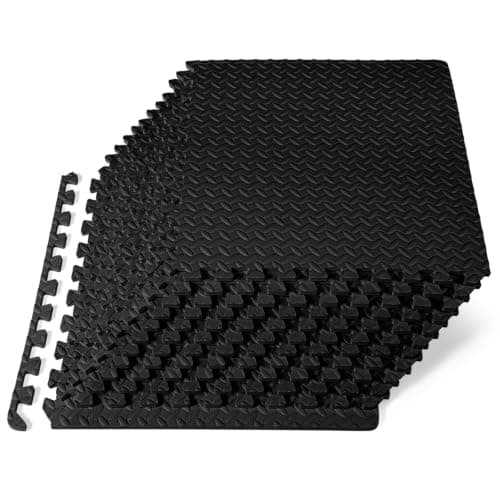
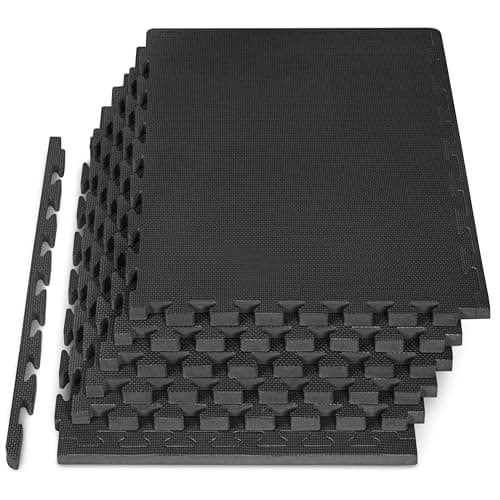
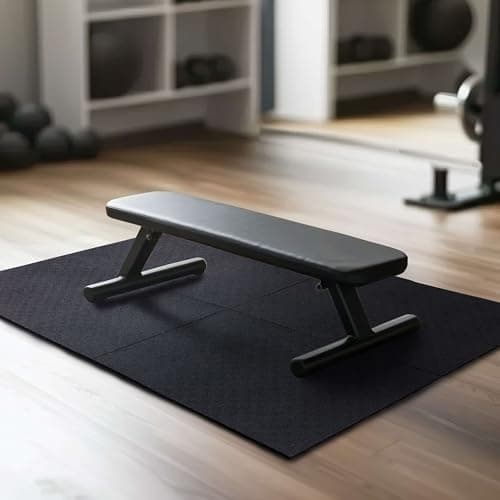
Interlocking EVA foamis light, quiet underfoot, and the renter’s answer — tool-free, adhesive-free, removable in minutes. It is also the more comfortable surface by a wide margin for floor work. The trade-off is that foam dents and compresses under concentrated weight, so it is the wrong surface under a rack or a loaded bar. We settle the material question in detail in rubber vs. foam gym flooring.
Plenty of home gyms use both, and that is usually the right answer rather than a compromise: rubber where the iron lives, foam where your knees and elbows do. Nothing stops you from starting with one mat and adding tiles a month later.
How thick, and where
Thickness is about impact, not comfort — and thicker is not automatically better. Under a rack, a soft, deep surface lets the feet sink unevenly and makes a heavy bar feel tippy. Firm and thick beats soft and thick every time.
As a working rule: a quarter inch of rubber protects a floor from scuffs, sweat, and weights you set down; half an inch of rubber handles a rack and ordinary barbell work; three-quarters of an inch or more of dense rubber is what a genuine drop zone needs. On the foam side, half an inch is plenty for general training and a full inch is for comfort and for spreading load over carpet. Our flooring thickness guide walks through the same call with each training style spelled out.
Work out the square footage before you shop
This is where beginners overspend. You do not need to floor the whole room — only where you lift and where you move. Measure your rack footprint, add a stride of clearance in each direction so you are never stepping off an edge mid-set, and that patch is your rubber zone. Then measure the dumbbell and bodyweight area separately for foam.
Once you have two numbers, compare products on cost per square foot, not sticker price. That is the comparison that reorders this whole page: a small stall mat is the cheapest way to cover one spot, a rubber roll is the cheapest way to cover a whole station in a single piece, and a drop pad is by far the most expensive per square foot — which is fine, because you only need about eight square feet of it. The full criteria walkthrough lives in how to choose home gym flooring.
Renting, upstairs, or over carpet
If you rent or train above someone, flooring stops being optional — it is what keeps you on good terms with your landlord and your neighbors. Foam tiles install with zero tools, no glue, and no holes, cushion each rep, and stack flat into one trip when you move. Pair them with apartment-appropriate lifting (controlled reps, adjustable dumbbells rather than dropped barbells) and see the whole quiet setup in the apartment home gym build; for the noise side specifically, see home gym noise reduction.
Over carpet, the problem is not protection but stability — carpet and its pad compress unevenly, so a rack or bench rocks. A thick foam tile is fine for light work; anything heavy wants a rigid layer on top, which we cover in flooring over carpet. Over a garage or basement slab, rubber does nearly all the work and a patch of foam is purely for comfort — see garage gym setup and basement home gym for the moisture and rust side of those rooms.
What flooring cannot do
Two honest limits. First, no mat on this page makes a bad floor safe for dropping a loaded barbell. Real drop zones are built, not bought: thick dense rubber over plywood, ideally on a slab, not on a joisted floor above a room you care about. Second, flooring is not a substitute for a rack with working safety arms. It protects your floor and quiets your room; it does nothing for you under a failed rep. If you press or squat alone, the flooring budget comes after the rack, never instead of it. An exercise mat is a different product again — thinner, for floor work — and we cover that in do I need an exercise mat?
Where flooring sits in the buying order, costed against everything else, is laid out in the $1,000 Build and our full flooring guide. Both flooring picks in that build have their own write-ups: the Mohawk stall mat and the ProsourceFit puzzle tiles.